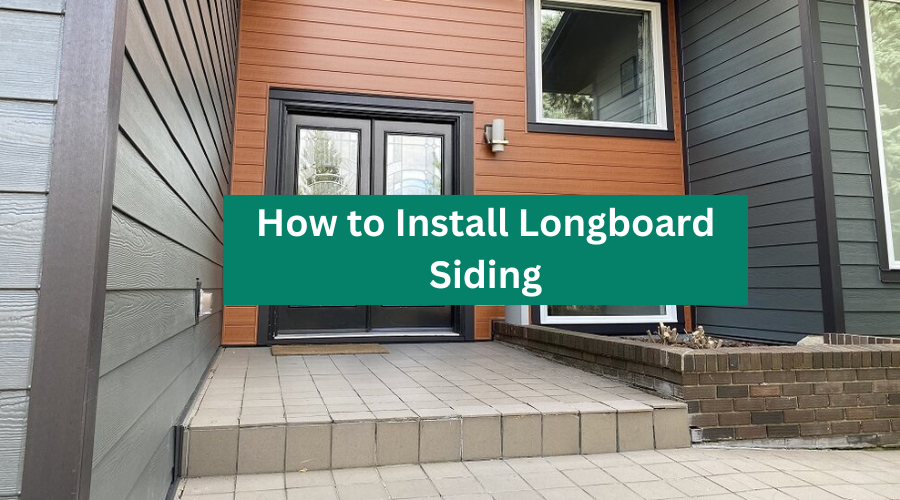
How to Install Longboard Siding: 5 Easy Steps for Beginners
Longboard siding is a popular choice for homeowners due to its durability and low maintenance requirements. However, installing longboard siding can be a challenging task, especially for those without prior experience.
We will provide a comprehensive guide on how to install longboard siding, from preparing the surface to finishing touches.
Before we get started, let’s go over some of the tools and materials you’ll need for this project:
Tools You Need to Install Longboard Siding
- Measuring tape
- Level
- Chalk line
- Circular saw
- Jigsaw
- Cordless drill
- 1/8-inch drill bit
- 3/16-inch carbide-tipped masonry drill bit
- Hammer
- Nail set
- Caulk gun
- Paintbrush
Materials
- Longboard siding panels
- Starter strip
- J-channel
- Window and door trim
- Nails
- Screws
- Exterior caulk
- Paint
Step-By-Step Guide on How to Install Longboard Siding
Step 1: Prepare the Surface
Before installing longboard siding, it is crucial to ensure that the surface is clean. Remove any existing siding or trim and inspect the surface for damage. Repair any cracks or holes and replace any damaged wood.
Next, install the starter strip along the bottom of the wall. The starter strip provides a level surface for the first row of longboard siding panels. Use a level to ensure the starter strip is installed straight.
Step 2: Install the J-Channel
The J-channel is a metal channel that is installed around windows, doors, and other openings. It provides a secure base for the longboard siding panels to rest on and helps to prevent moisture from entering the wall cavity.
Measure and cut the J-channel to the appropriate length and install it around the openings. Use a level to ensure the J-channel is installed straight.
Step 3: Cut and Install the Longboard Siding Panels
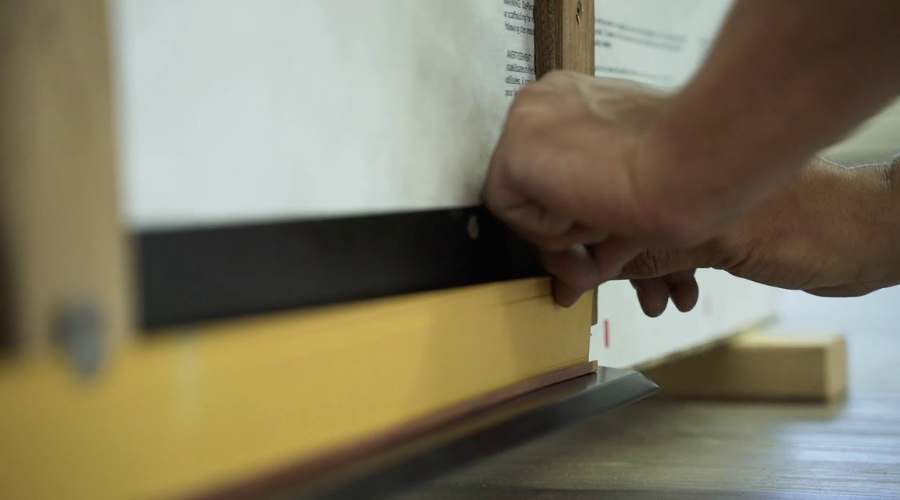
Measure and cut your longboard panels to the appropriate length. Be sure to leave a small gap between each panel to allow for expansion and contraction.
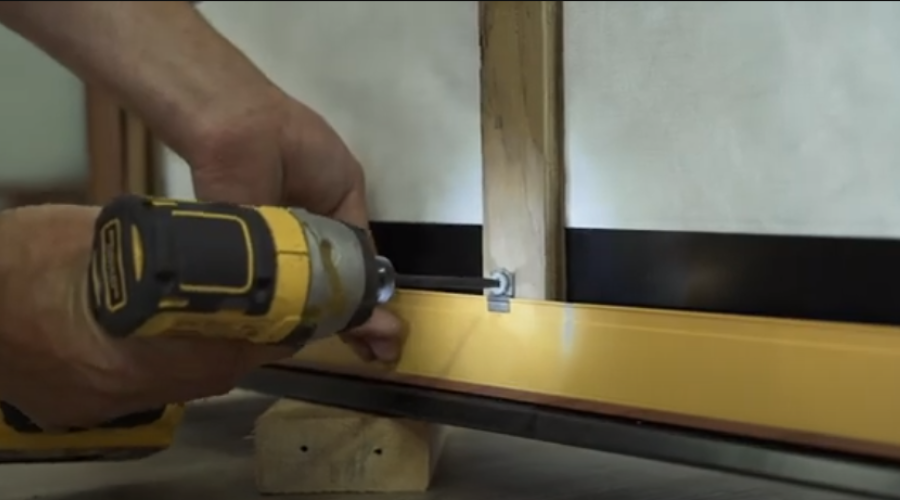
Install the first panel at one end of the wall, using nails or screws to secure it to the starter strip and J-channel. Use a level to ensure the panel is installed straight.
Continue installing the longboard siding panels, making sure each panel is level and properly secured. Use a jigsaw to cut around windows and doors.
Step 4: Install the Window and Door Trim
Window and door trim adds a finishing touch to the longboard siding installation. Measure and cut the trim pieces to the appropriate length and install them around the openings using nails or screws.
Step 5: Apply Caulk and Paint
After the longboard siding panels and trim are installed, apply a bead of exterior caulk along the edges to seal any gaps and prevent moisture from entering the wall cavity.
Finally, apply paint to the longboard siding and trim to protect it from the elements and add a finished look.
How do you attach aluminum siding?
Aluminum siding is a type of metal siding that is attached to the exterior of a building using nails or screws. Longboard siding, on the other hand, is a type of composite siding made of aluminum and wood that is attached using a hidden fastening system.
To attach aluminum siding, you will need to follow these steps:
- Prepare the Surface: Ensure the surface is clean and dry before attaching the aluminum siding. Remove any existing siding or trim and inspect the surface for damage. Repair any cracks or holes and replace any damaged wood.
- Install Furring Strips: Furring strips are thin pieces of wood that are installed vertically on the wall to create a level surface for the aluminum siding to be attached to. Use a level to ensure the furring strips are installed straight and spaced evenly.
- Measure and Cut the Aluminum Siding: Measure and cut the aluminum siding panels to the appropriate length. Be sure to leave a small gap between each panel to allow for expansion and contraction.
- Attach the Aluminum Siding: Starting at one end of the wall, use nails or screws to attach the aluminum siding to the furring strips. Be sure to space the nails or screws evenly and avoid overdriving them, which can cause the siding to buckle or warp.
- Apply Trim Pieces: Window and door trim pieces can be installed around openings to add a finishing touch to the aluminum siding installation.
In contrast, to attach longboard powerslide or siding, you will need to follow a different process. Longboard siding uses a hidden fastening system that attaches the siding panels to the wall using clips or brackets.
The installation process for longboard siding can be more complex and may require professional installation. It is important to follow the manufacturer’s installation instructions to ensure a successful installation.
How much does longboard siding cost?
The cost of longboard siding can vary depending on several factors, such as the size of your home, the type of longboard siding you choose, and the cost of labor in your area.
On average, longboard siding costs between $12 and $18 per square foot, including installation. For a $14 square foot home, the total cost of longboard siding can range from $12 to $18.
Conclusion
Installing longboard siding is a challenging task but with the right tools and materials, it can be done. Follow the steps outlined in this guide to ensure a successful installation. Longboard siding not only adds a beautiful aesthetic to your home but also provides long-lasting durability and low maintenance requirements.

I am a longboarding enthusiast and a blogger. On this blog, I share tips, tricks, and advice based on my experience. I am dedicated to helping newbies improve their skills and enjoy this fun activity to the fullest.
Disclosure:This post may contain affiliate links. If you click on a link and make a purchase, we may earn a commission at no additional cost to you. Learn more.